

First, let me give credit where credit is due! My dear sweet friend agreed to take photos of the party so all of these beautiful shots are due to Beth York Photography. Please take a moment to check her out on Facebook. She does AMAZING work and her photography business is strictly an effort to bring home their darling daughter from China. Even if you aren't local and can not take advantage of her photography skills for your family, please take a moment to visit her blog, read her inspiring stories, and consider supporting them through their 31 fundraiser that is going on this month. You will be truly humbled and blessed by this precious family's testimony!
In our family we don't go overboard with birthday presents but instead this creative mama probably goes a bit overboard with parties. I am so thankful that I have a husband who understands my need to be creative and supports me in that. I will admit, that a lot of what I do is for fun, but while working hard on this particular party, I was convicted about my motives. It scared me to think that it might be for my own glory and not for my little girl or for the friends we were inviting. After searching my heart, I truly feel that most of my efforts were with the children in mind.

When I began her party planning, there wasn't much question about what the theme would be. This girl LOVES dinosaurs! She knows the different names better than anyone I know and can tell whether they are herbivores, carnivores or omnivores. She can tell you whether they are bipeds or quadrupeds and what a track wave is and can also explain how fossils are made. Pretty good for a four-year-old!
I started by creating this Pinterest board dedicated to her party and collecting ideas from the NUMEROUS dinosaur parties out there. There were so many wonderful inspirations. I wasn't able to use them all but it was a great springboard for making her party unique.
Birthday Outfit

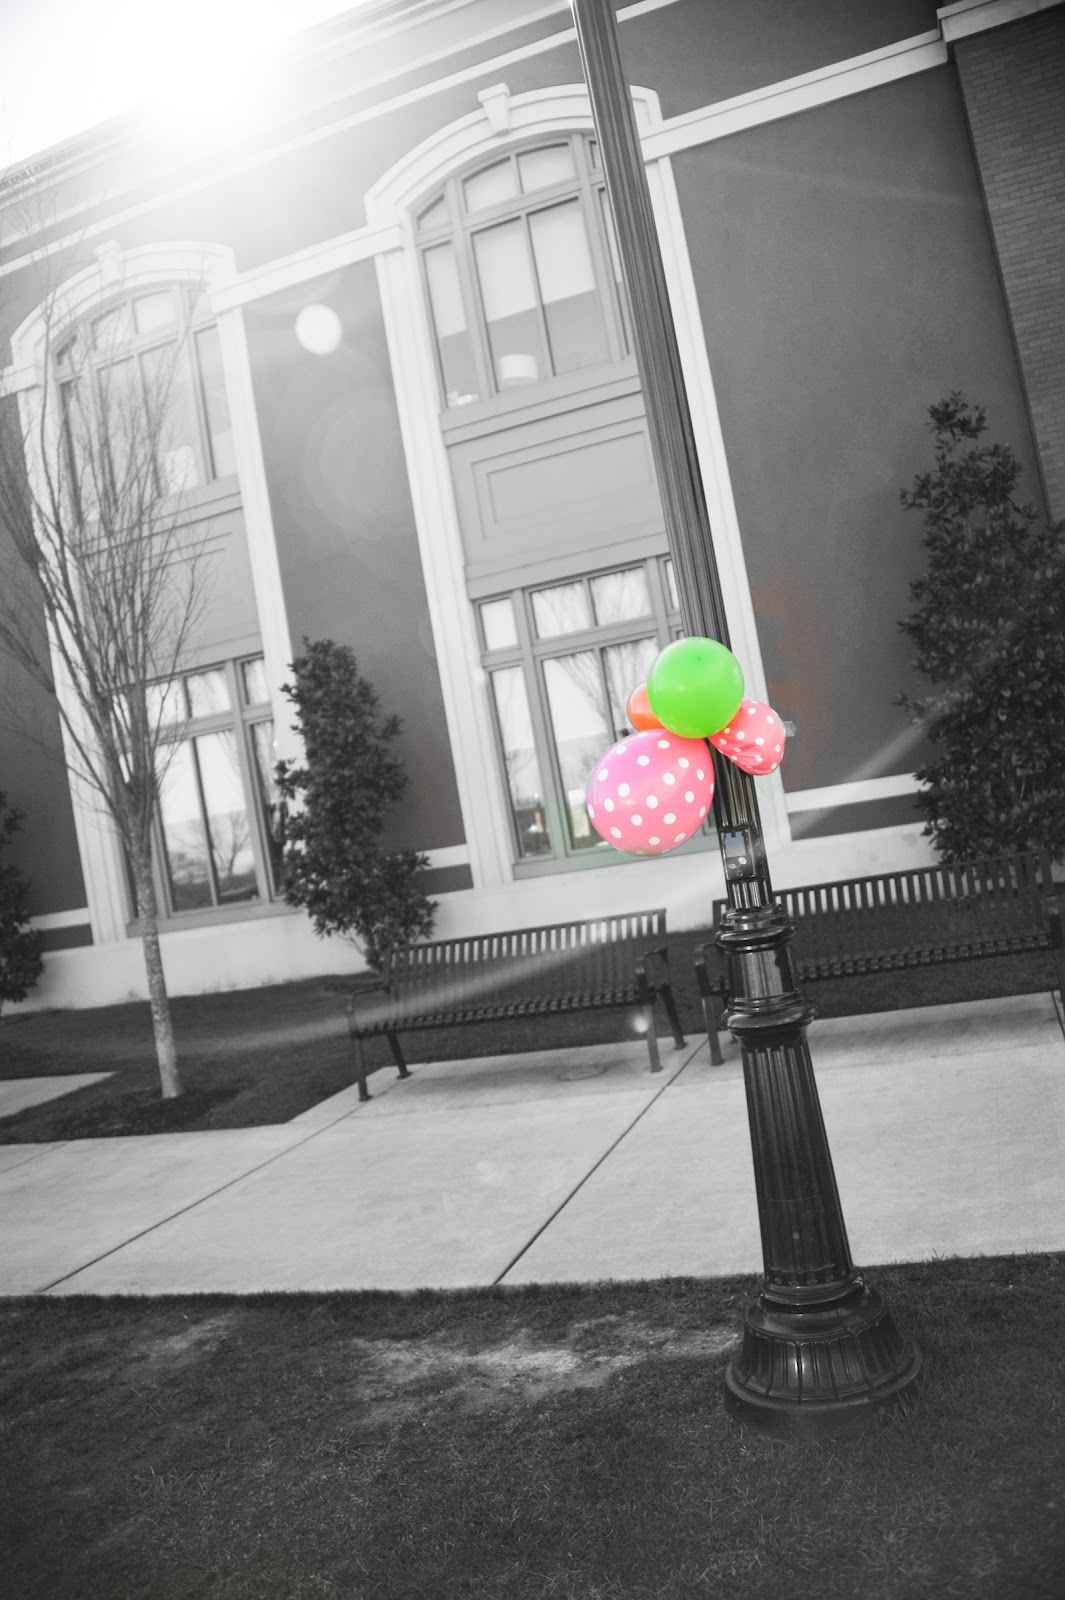
Location

Decorations


I also posted a sign on the door with further directions. It read "Stomp Rumble and Roar! Elena's party is on the second floor. Track the Dino Prints through the door.

Using my Silhouette Cameo, I cut out small dino foot prints which I taped to the floor creating an obvious path to the Science Center.

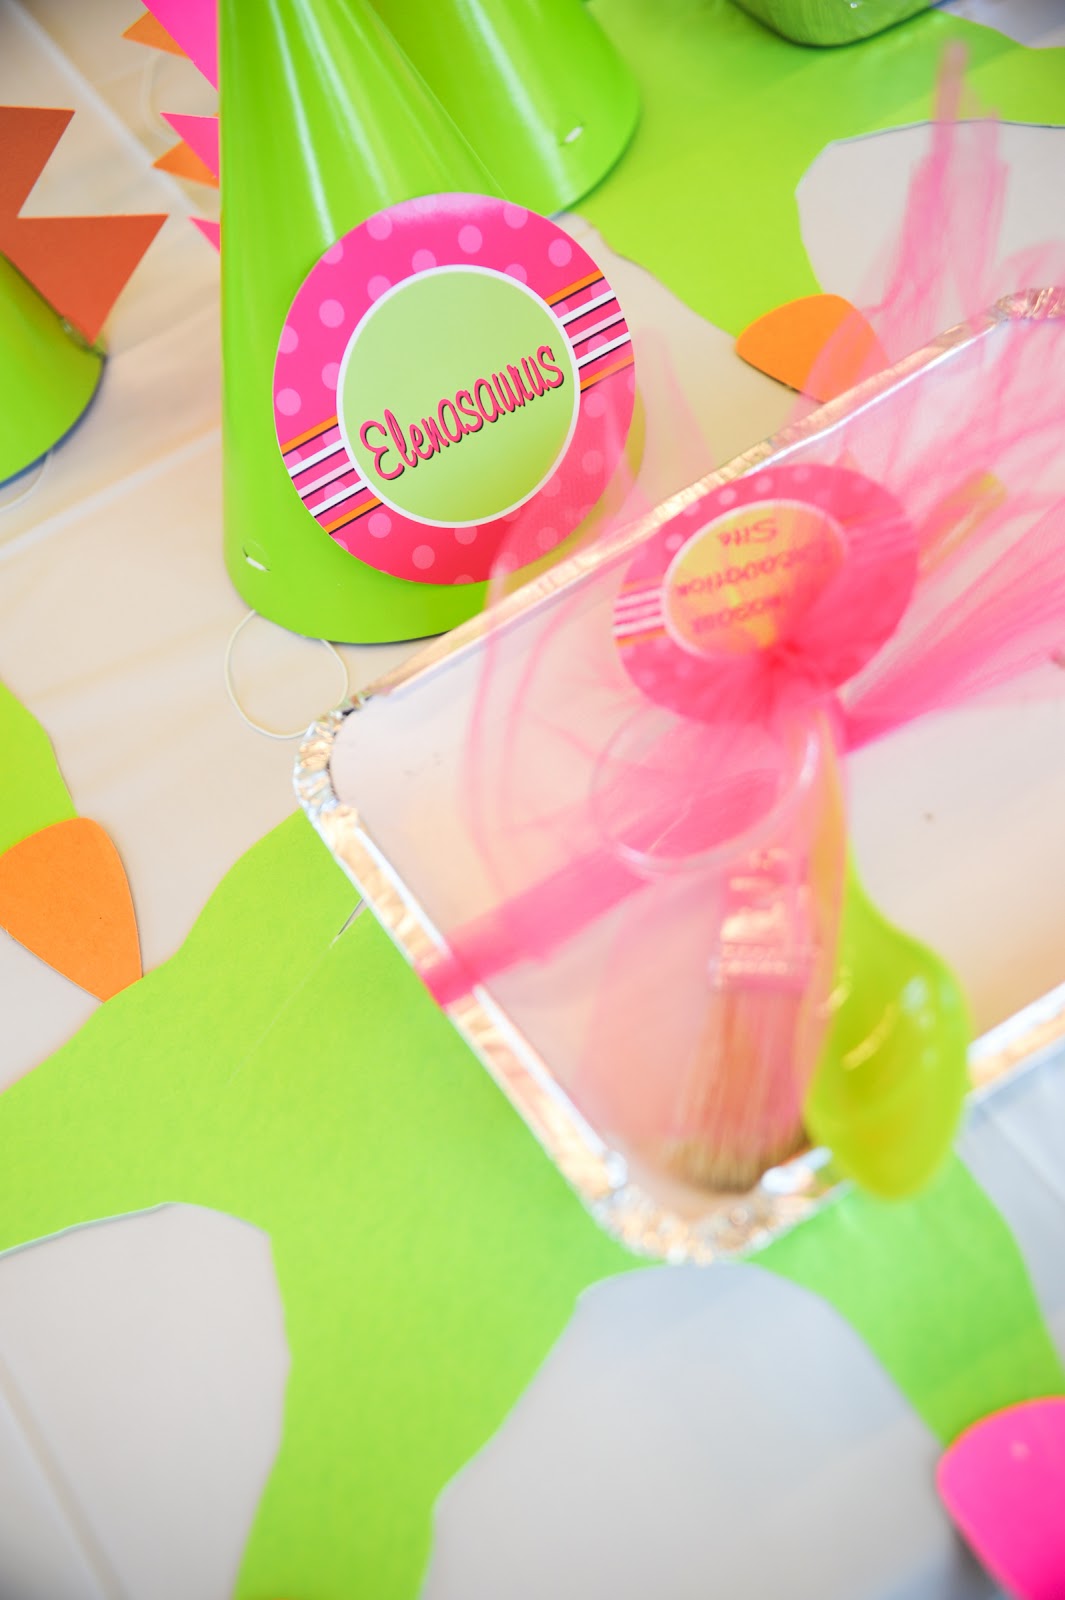
Using the same stripe and dinosaur elements from the invitation, I added a polka dot background to pink and orange to create coordinating cupcake toppers, food labels, party hat labels, table centerpieces, favor toppers, dino dig labels, etc. Since helium was not in our budget, I wanted to come up with a creative way to use the pink polka dot balloons in the party room. The day before the party, I made the impromptu "balloon topiaries" for centerpieces on the table (you can see my tutorial on how to make them here).

Party Favors
The main party activity also served as a party favor. Each guest had their own dinosaur excavation site which included "paleontologist tools," a dinosaur skeleton to excavate and a dinosaur fossil to keep (you can see my earlier post about how to make your own here). Each guest also had a few other special treats to take home with them. I knew the instant I saw this post that I HAD to make dino tails for Elena's party! Using a lime green fabric I found at JoAnn on the clearance table, I made 20 tails (total cost to make all 20 was about $30)The girls' tails had pink spikes and the boys' tails had orange. It took me the better part of two days to make them but it was well worth every bit of the effort when I saw how much everyone enjoyed them.


I also used my Siloette Cameo to cut out dino feet that slipped over their shoes. I cut out matching pink and orange claws for the tips to coordinate with the tails.

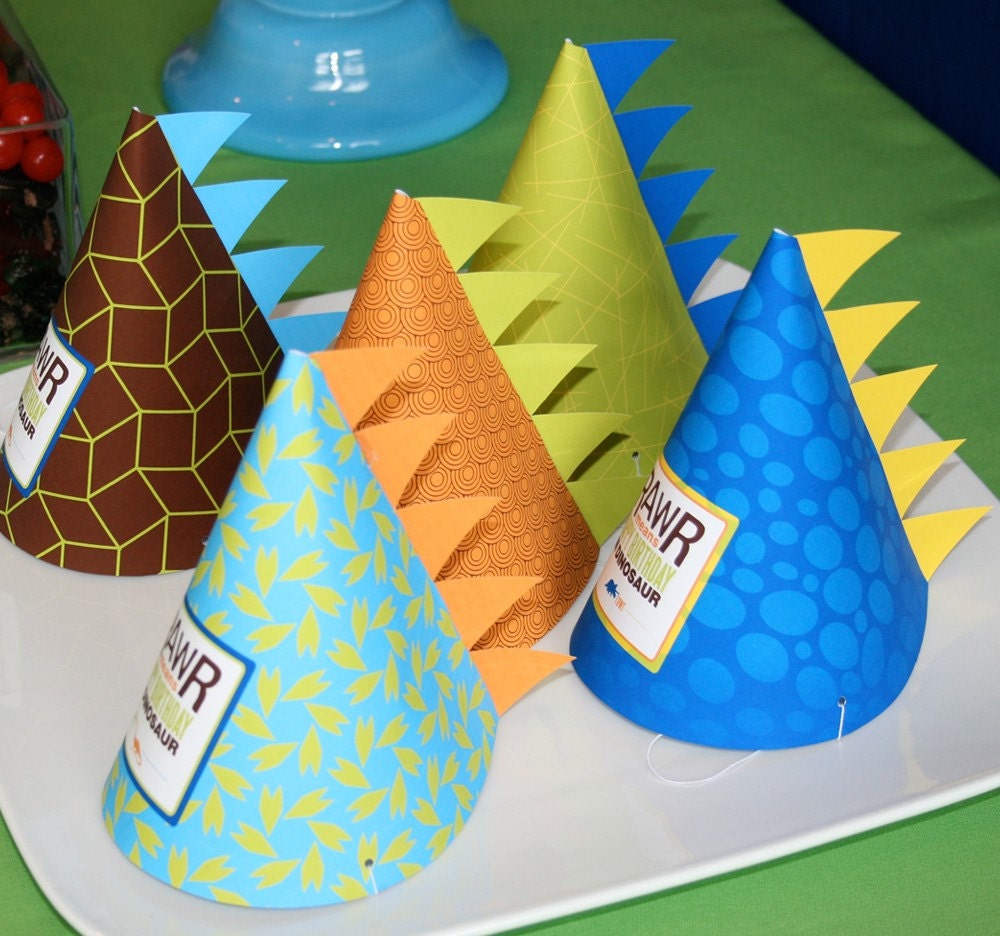
To top off the dino set, I was inspired by this find on Pinterest. I purchased solid green party hats online and added the pink and orange spikes to the back. Each hat had a guests "dino" name on the front and these were also used as place cards at the tables.


I also had to include dino eggs. Elena helped me sort some Easter candy so we had only pink and white eggs to match her decor. I made simple toppers for small ziplock bags and put a handful in each container.

Finally, we continued our magnet tradition where each guest was given a "Thank You" magnet with Elena's picture. It has been neat for us to see how she has grown each year through this little memento.

Agenda


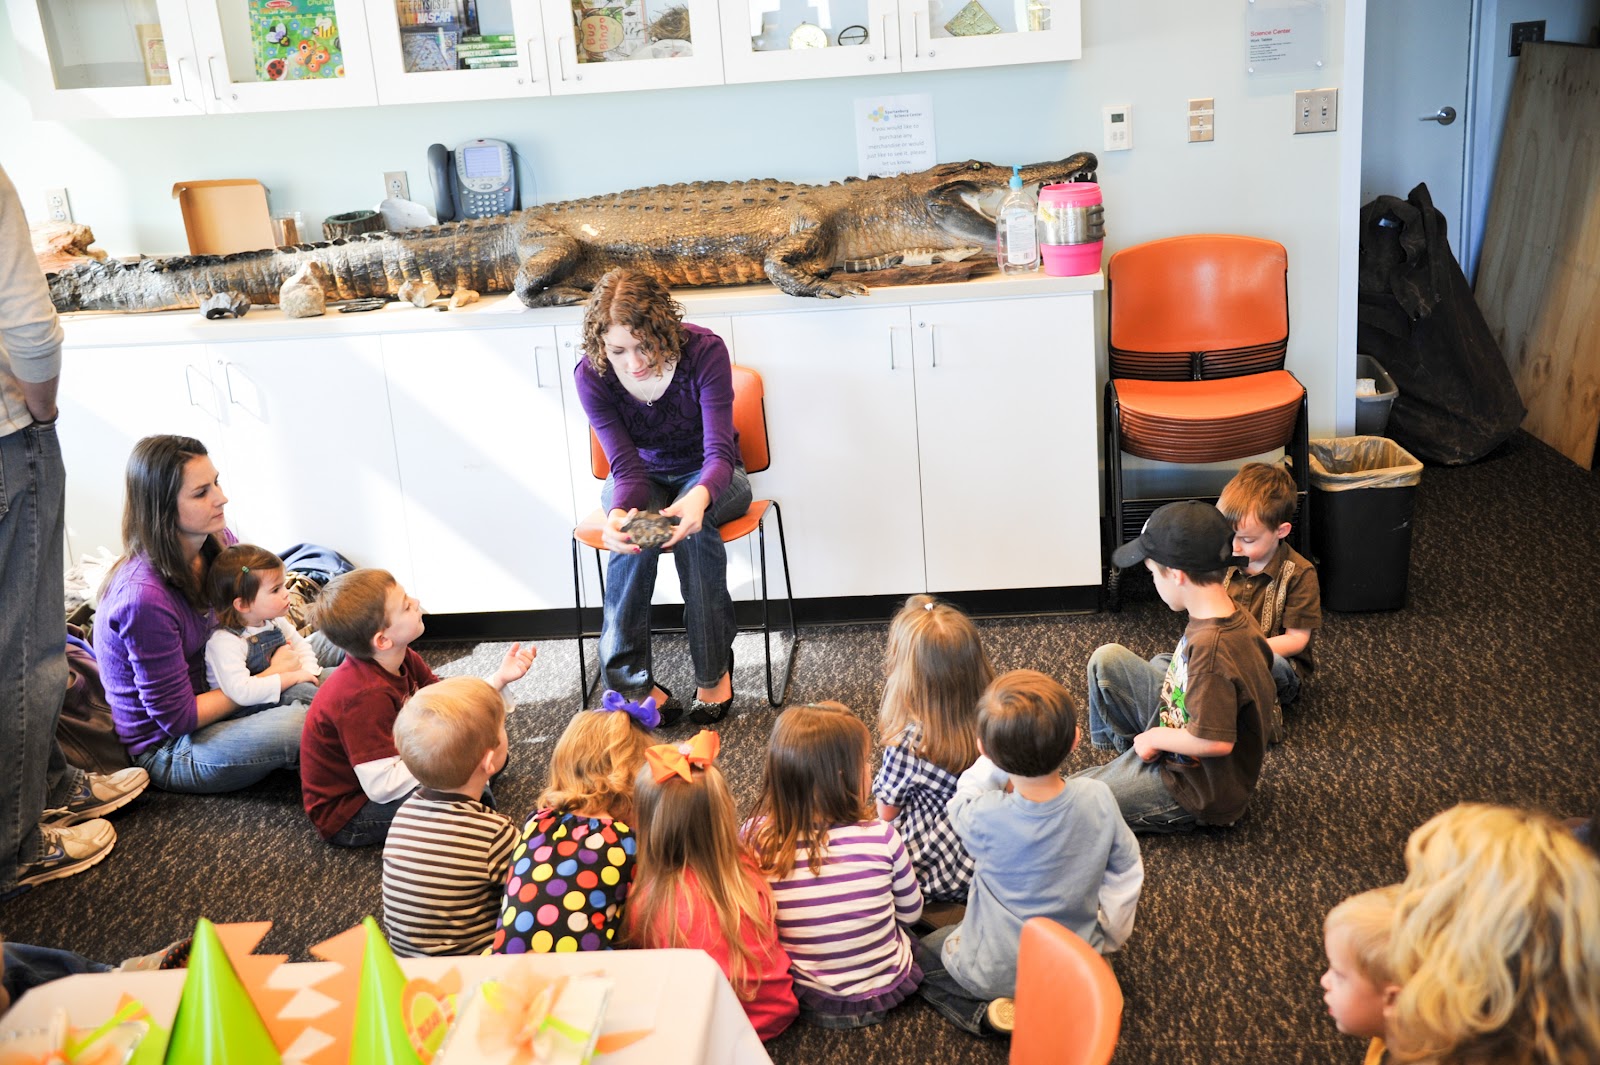
Next, everyone gathered in the party room where a sweet intern delivered a quick lesson on fossils. She passed around actual dinosaur fossils and talked with them briefly about how fossils are formed. She then explained what a paleontologist does.

Then, the kids moved to their seats at the table where I had their dino-digs waiting on them. After some brief directions, they dug up their dino bones and discussed with their parents what dinosaur they had discovered.


The kids then put on their party hats, dino tails and feet, and gathered around the intern once more to see, touch, and hold a live snake (a special request by the Birthday girl) while the parents cleaned up the table for food.


After singing Happy Birthday to Elena, the food was enjoyed and more fun was had exploring the exhibits and dancing in dinosaur regalia.


The Menu

The party was held from 10-12 so I planned a light lunch. I started with the "Herbivore" food and served a Mandarin Orange Salad and a Lime-Kissed Fruit Salad (though I forgot the honey and it ended up just being fruit salad). The salad containers were Walmart finds that I am sure I will use time and time again.


Next came the "Carnivore" food which was Publix party platters. We served ham & cheese roll ups and pizza roll ups. For the "Watering Hole" I made my Sparkling Strawberry Punch and labeled small water bottles. I purchased lime green cups and made coordinating stickers for each cup. Each cup and water bottle had a place for guests to write their name so drinks weren't mixed up or discarded prematurely.


Finally, for desert, I made strawberry cupcakes and vanilla cupcakes with cream cheese icing. I made the cupcake wrappers and toppers using my Silhouette Cameo.

When Elena caught a glimpse of the cake on the site where I got her cupcake recipe, she insisted on a "rose" cake for her party so that is what she got!

Keep checking back in the next couple of weeks...once I get my computer out of the shop, I hope to post some FREE dino party printables as well as my designs for cutting out the dinosaur feet and cupcake wrappers via your Silhouette Cameo!
FREE Silhouette Files:


